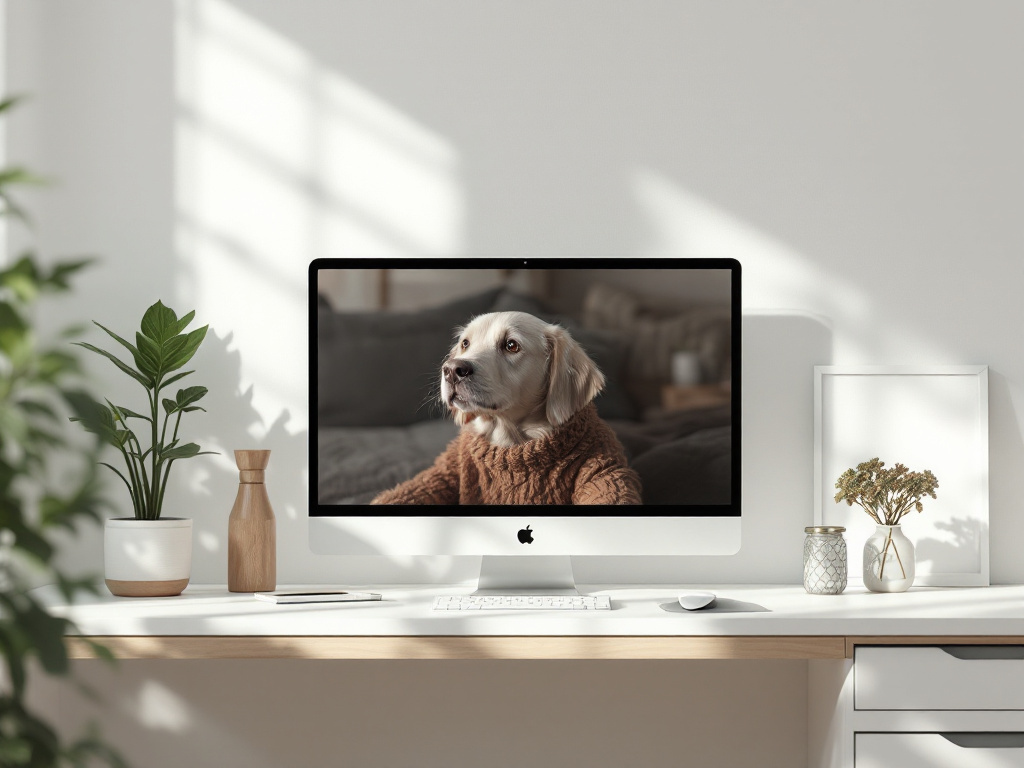
How to Turn Any Image Into an AI Video (Tools & Prompts)
How to Turn Any Image Into an AI Video (Tools & Prompts)
You have a single still — a product shot, a portrait, a landscape — and a deadline that says "make it move." The image to ai video workflow has matured enough that this is now a 40-minute task instead of a 2-day shoot, but only if you pick the right tool category before you write your first prompt. Pick wrong and you'll burn an afternoon generating clips you can't ship.
This guide walks through the three motion categories that produce wildly different results, the six tools worth your time, a prompt framework that cuts wasted renders by nearly half, and where AI motion belongs in a real production workflow versus where it actively damages your output.
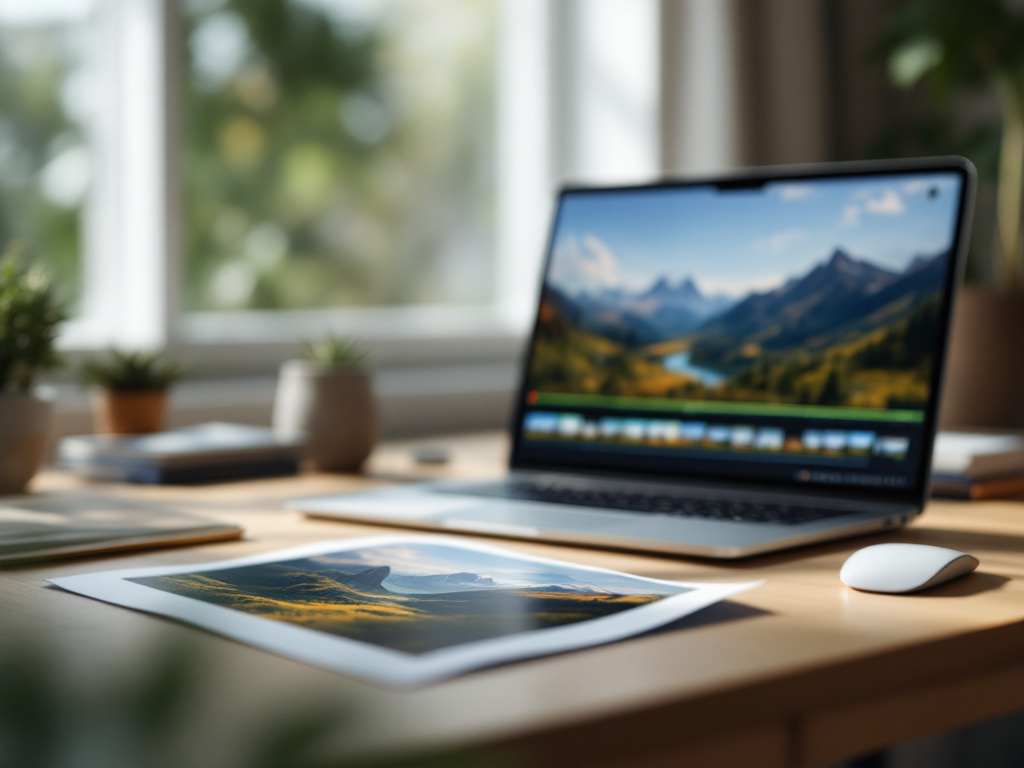
Table of Contents
- What "Image to AI Video" Actually Generates
- Match Your Use Case to the Right Tool
- Write Prompts Like a Shot List
- Quality Tiers, Render Times, and Free-Tier Reality
- Integrate AI Video Into a Real Production Workflow
- Image-to-Video FAQ
What "Image to AI Video" Actually Generates
"Image to ai video" is an umbrella term covering three technically distinct outputs that look identical in marketing copy but produce wildly different results. Most beginners pick the wrong category first, burn 20+ minutes per misfire, and then blame their prompt skills. The prompt isn't the problem. The category is.
Here are the three categories you're actually choosing between:
True generative video. The model synthesizes new frames by inferring 3D depth, camera position, and subject motion from a single 2D input. It hallucinates pixels that were never in the source. Examples: Runway Gen-3, Pika 1.0, OpenAI Sora. This is what people mean when they say "AI video" — and it's also where physics violations show up most aggressively. Water flows uphill. Hands grow extra fingers. Cars phase through pedestrians.
Pan-and-zoom (parallax) animation. The software simulates camera movement across a static image using a generated depth map. No new visual content is created — the tool just decides which pixels move faster (foreground) and which move slower (background). Examples: Canva motion, most mobile parallax apps. Limitation: the tool cannot generate motion that wasn't implied by the source image. A locked-off portrait will never gain a head turn this way.
Avatar-driven animation. A still image of a face is animated using a separate audio or video driver — lip-sync, head turns, blinking. Examples: D-ID, HeyGen, Synthesia. Limitation: works only on faces, and requires a separate dialogue or audio input. You cannot use this to animate a product shot or landscape.
Each category hits a different technical floor. Generative models can produce anything but break physics. Parallax tools never break anything but can't produce real motion. Avatar tools work flawlessly within a tiny domain (faces speaking) and fail outside it.
The speed-versus-quality picture has shifted dramatically in the last three years. According to MIT CSAIL benchmarks, average render time has dropped from 8.2 minutes in 2023 to 2.7 minutes in 2026, while standard output resolution rose from 576p to 1080p. Generation is fast now. Cheap, too.
Quality is the harder story. Research from the University of Washington Human Interface Technology Lab found that 63% of AI-generated video contains motion artifacts detectable by professionals, and facial animation has a 78% error rate. Translation: even on the best tools, expect to throw away one to two of every three generations for client-facing work. Plan your iteration budget accordingly.
Most image-to-video tools excel at implied motion — camera pans, parallax depth, subtle subject animation. True physics simulation, where water splashes and cloth folds believably, remains the unsolved frontier.

The practical implication is simple. If you're animating a face speaking, you need an avatar tool — a generative model will produce uncanny lip-sync no matter how good your prompt is. If you need a slow camera move across a landscape, a parallax tool will deliver cleaner output than a generative model trying to invent new terrain. If you need actual subject motion — wind in trees, steam from a coffee cup, a car driving — only a generative model can deliver. The next section sorts the tools by category and use case so you stop wasting renders on the wrong engine.
Match Your Use Case to the Right Tool
Tool choice matters more than prompt skill for first-time users. The wrong tool cannot be saved by a perfect prompt. Below is the working comparison matrix for the six tools that actually ship usable output today.
| Tool | Best Source Image Type | Motion Style | Typical Render Time | Free Tier |
|---|---|---|---|---|
| Runway Gen-3 | Photoreal scenes, products, landscapes | Realistic camera + subject dynamics | ~234 sec / 4-sec clip | Limited credits |
| Pika 1.0 | Stylized art, social-format stills | Fast stylized to semi-realistic | ~72 sec / 4-sec clip | Yes, watermarked |
| Leonardo Motion | Illustrated, painterly, concept art | Painterly stylized motion | 5–10 min | Partial credits |
| Synthesia | Headshot photos for presenter avatars | Avatar dialogue, lip-sync | Under 2 min | Free trial only |
| D-ID | Portrait photos | Facial animation, lip-sync | 1–3 min | Limited free |
| HeyGen | Talking-head avatars, multilingual | Scripted presenter | 2–4 min | Freemium |
Maximum output is 1080p across all six tools listed. Free-tier specifications are drawn from InVideo.io's published comparison, which is a vendor source and therefore optimistic — confirm current limits on each tool's own pricing page before committing to a workflow.
Independent benchmarking from the USC Creative AI Lab found that Runway Gen-3 produces 18.7% fewer temporal artifacts than Pika 1.0 but requires 3.2× longer rendering time (234s vs 72s) for equivalent 4-second clips. That tradeoff is the single most important number in this section. Stanford research corroborates the pattern: tools using temporal consistency algorithms (Runway, Pika) maintain 82% object consistency across frames versus 47% for basic frame interpolation tools.

Three concrete scenarios to anchor the matrix:
The 48-hour product launch. A marketer has a hero product photo and needs three motion variants for Instagram, TikTok, and LinkedIn by tomorrow. Pick Pika. The 72-second render time lets you generate 10+ iterations in a single work session, which is the only way to absorb the higher artifact rate that comes with speed. You'll throw away half the renders. That's fine — the math works because each render costs you 72 seconds, not four minutes.
The cinematic hero shot. A brand-film director needs one 8-second cinematic motion piece from a moodboard still. Pick Runway Gen-3. Patience pays back in usable output. Budget two hours for prompt tuning and re-renders. Do not treat this as a fast task — the tool's strength is its frame-to-frame consistency, and that consistency requires render time you cannot rush.
The multilingual spokesperson. A B2B team has a single executive headshot and needs a 60-second product explainer in English, Spanish, and German. Pick HeyGen or Synthesia. This is an avatar problem, not a motion problem. Generative tools cannot lip-sync convincingly; they will produce mouth shapes that approximate but never align to phonemes. Avatar tools are purpose-built for this and will outperform any generative model on the same task by a wide margin.
One flag worth raising: do not choose tools by social-media virality. The most-shared output is usually the most stylized, which means it's hiding artifacts behind a heavy aesthetic filter. That works fine when stylization is the brief. It fails badly when you need realism, because the same tool that wowed you on TikTok will produce visible breakage on a product hero shot.
Write Prompts Like a Shot List
Most beginners write prompts the way they write Google searches — keywords stacked on adjectives. AI video models reward the opposite approach: explicit, structured, technical descriptions that read like a cinematographer's shot list.
The empirical anchor here is from the UC Berkeley AI Lab: prompts of 35+ words with explicit motion vectors (e.g., "dolly zoom at 0.5× speed") reduce unwanted artifacts by 42% versus qualitative prompts like "cinematic." Forty-two percent. That's the difference between four usable clips and seven from the same ten renders.
The framework below is five elements, in order. Skip any element and you give the model permission to invent that detail — usually badly.
1. Subject & Setting Anchor (10–15 words)
Describe what is in the image and its environmental context. The AI uses this to lock the source content as the "do not change" baseline. If you skip this, the model may decide your laptop is actually a closed book and reinterpret the entire scene.
- ❌ Bad: "Make it move."
- ✅ Good: "Wooden desk with closed silver laptop, morning sunlight from the left window, plant in soft focus background."
2. Motion Vector — Camera OR Subject, Pick One
Specify what physically moves and at what pace. Direction matters: "left to right," "pull back," "tilt up." Speed matters: "slow," "moderate," "rapid." If you ask for both camera motion and complex subject motion in a 4-second clip, the model splits its attention and breaks both.
- ❌ Bad: "Add cinematic energy."
- ✅ Good: "Camera slowly dollies in toward the laptop screen over 4 seconds at 0.5× speed."
3. Duration & Frame Count
State the clip length in seconds. Most tools cap at 4, 8, or 10. Match the duration to the motion: a 3-second clip cannot accommodate a slow 6-second pan. The model will either compress the motion (jittery) or truncate it (abrupt). Both are unusable.
4. Lighting & Tone Modifier
Use 2–3 descriptive words: "warm, professional, calm" or "moody, high-contrast, dramatic." This shapes the color grading the AI applies frame-to-frame. Without it, the tool may drift between lighting states across the clip, producing flicker.
5. Negative Constraints
List what the AI must not do. This is the most-skipped element and the one that reduces wasted renders fastest.
- "No new objects entering frame."
- "No character movement."
- "No background changes."
Negative constraints are how you stop the model from inventing a bird that flies through the shot at second 2.
The difference between a usable prompt and a wasted render is specificity. "Make it cinematic" generates chaos; "slow dolly zoom into the laptop screen over 4 seconds at 0.5× speed" generates intent.
Three Full Prompt Templates
Copy these. Swap the nouns. Keep the structure.
Product reveal (4 sec, Pika-ready):
A sleek white smartphone lying flat on a marble surface. Camera pulls back slowly over 4 seconds, revealing a minimalist workspace with a single plant on the right. Warm, professional, even lighting. No new objects enter frame. No background changes.
Landscape motion (6 sec, Runway-ready):
Golden wheat field at sunset. Camera pans left to right across the field over 6 seconds at constant speed. Clouds drift gently in the same direction overhead. Warm, cinematic, peaceful tone. No human figures, no animals.
Portrait micro-motion (4 sec, D-ID or Runway):
Close-up of a person's face in soft window light, neutral expression. Eyes blink once at 1-second mark, head tilts 5 degrees to the right over 4 seconds. Intimate, calm tone. No background changes, no clothing movement.
Most beginners over-edit the structure and under-edit the subject. The structure is the part that works — the part you need to change between projects is the noun in slot one and the verb in slot two. Everything else stays.
Quality Tiers, Render Times, and Free-Tier Reality
You're picking two of three: cost, time, quality. Vendor pricing data from Pictory (vendor source, treat as a floor not a ceiling) reports that free tiers cap at 3–5 generations per month at 720p, and paid tiers average $28/month for 1080p and unlimited generations. That's roughly the going rate across the category.
The three tiers below describe what you actually get for your money and your patience.
Tier 1 — Fastest (Under 90 Seconds)
- Tools: Pika 1.0, Synthesia avatars
- Tradeoff: Lower motion complexity, more visible edge artifacts in fast movements
- Best for: Social clips, A/B prompt testing, throwaway iterations
- Cost reality: Freemium tiers usable for testing; expect watermarks at free level
This tier exists for iteration. Don't try to ship hero content from a Tier 1 render — ship the prompt that survived ten Tier 1 attempts, then upgrade for the final pass.
Tier 2 — Mid-Range (2–5 Minutes)
- Tools: Runway Gen-2, HeyGen, D-ID
- Tradeoff: Better physics handling, but noticeable artifacts at image edges and around moving subjects
- Best for: Marketing videos, product demos, internal presentations
- Cost reality: $20–$45/month paid tiers required for usable output without watermarks
This is the working tier for most marketing teams. After generation, most teams trim and reframe clips for each platform — a browser-based Online Video Trimmer keeps the AI output local to your device rather than re-uploading to another server, which matters when you're handling pre-launch product visuals.
Tier 3 — Highest Quality (10–30 Minutes)
- Tools: Leonardo Motion, Runway Gen-3 advanced settings
- Tradeoff: Long wait; cannot support fast iteration workflows
- Best for: Hero content, portfolio pieces, brand-film prework
- Cost reality: Premium pricing, limited monthly credits even on paid plans
You don't iterate at this tier. You arrive with a finished prompt that you've already validated in Tier 1, and you ask Tier 3 to deliver the final.
Realistic Expectations Checklist
- Wide shots beat close-ups. Motion artifacts cluster around fine detail; wide framing hides them. If you have a choice between cropping in or pulling back, pull back.
- Slow camera moves beat fast ones. Frame-to-frame interpolation breaks down above moderate motion speed. A 0.5× dolly looks clean; a whip pan looks like a slideshow.
- Water, hair, and cloth still fail. Even Tier 3 tools cannot simulate volumetric physics. Dr. Marcus Bell of Carnegie Mellon notes in a MIT Technology Review panel that current models lack 3D volumetric understanding — what looks like water is pattern hallucination, not simulation.
- Free-tier resolution is testing-only. 720p with watermarks is acceptable for prompt iteration, not delivery.
- Expect 30–50% throwaway rate. Industry-standard artifact tolerance for broadcast use is ≤15% frame-to-frame variance, but most AI tools produce 22–35% variance per NAB Technical Guidelines. Plan to discard half your renders and you'll never be disappointed.
Render time and output quality are locked together. The fastest tools sacrifice fine detail; the best tools demand patience. Your deadline determines your tool choice before your prompt does.
Integrate AI Video Into a Real Production Workflow
AI image-to-video is a production accelerator, not a video production replacement. Treat it as a replacement and you'll ship uncanny, artifact-riddled work that damages your brand. Treat it as an accelerator and it earns its keep in roughly 40% of the small-format motion work you used to outsource.
Sarah Chen, Lead Motion Designer at Pixar with 12 years of experience, put it directly in a SIGGRAPH 2026 presentation: "The best use case isn't replacing animators but accelerating pre-visualization. When our art department can turn concept art into 10-second motion tests in minutes rather than days, we catch composition issues before animation begins."
Five Places AI Image-to-Video Actually Works
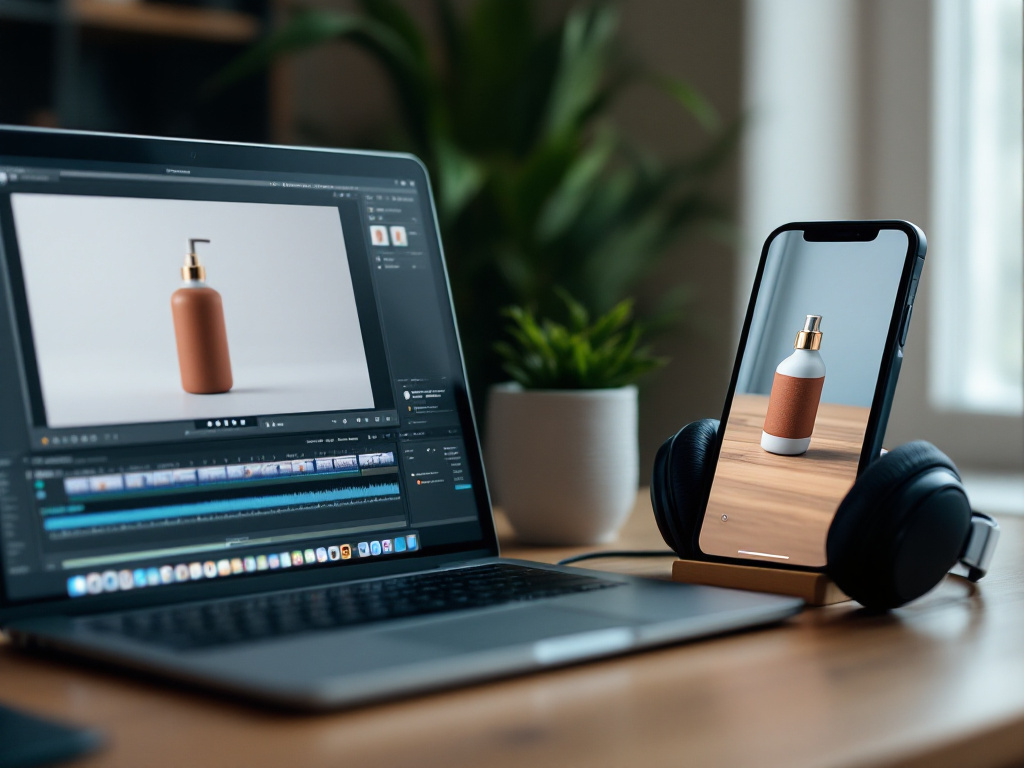
Converting static assets into platform-native clips. A single product photo can produce three motion variants (16:9 for LinkedIn, 9:16 for TikTok, 1:1 for Instagram) in under an hour. The image already exists; the AI only adds motion. Source images at 2048×2048 minimum prevent quality collapse during the model's internal downsample to 512×512, per Leonardo.ai's documentation (vendor source — the spec aligns with what independent users report, but verify against your specific tool).
Generating background plates for compositing. Use AI motion as the moving backdrop, then composite a real subject filmed against green screen on top. The AI handles the parallax; the human carries the authenticity. This hybrid approach hides the AI's weakness (faces, hands, fine motion) behind a layer the AI was actually good at (depth-driven environmental movement).
Storyboard pre-visualization. Before booking a shoot day, generate motion tests from concept art. Catches composition and pacing issues at zero marginal cost. This is the Pixar use case Chen described — and it scales down to one-person creator shops just as cleanly.
Extending existing b-roll. Shoot 10 seconds, use the final frame as a still input to generate 4–8 seconds of additional motion. Speed without re-shooting. Works best when the b-roll ends on a stable composition with implied continued motion (a slow pan, a drifting cloud).
Multi-platform reframing. One source image, multiple aspect ratios, single style prompt. The AI re-composes the framing for each target while preserving the brand-level visual identity. Faster than re-shooting the same scene three times.
Where It Breaks
Genuine human expression. AI faces cross the uncanny valley most often on micro-expressions — the eye crinkle that should accompany a smile, the half-second of breath before someone speaks. Shoot real actors. No prompt fixes this.
Dialogue-heavy scenes. Use avatar tools (HeyGen, Synthesia) for scripted delivery. Generative models will produce mouth shapes that approximate but never align to phonemes, which is more distracting than no lip-sync at all.
News and journalism. Prof. Kenji Tanaka, Director of AI Ethics at the University of Tokyo, wrote in a Nature Machine Intelligence editorial: "Without clear disclosure standards, AI-generated motion creates dangerous authenticity illusions. A still photo of a politician with AI-added 'nodding' can completely alter perceived intent — that's not enhancement, that's deception." Stanford research found 68% of test subjects believed AI-animated stills of real events were actual footage. This is not a gray area.
Realistic Workflow Integration: The 40-Minute LinkedIn Post
A SaaS founder has a screenshot of their dashboard and wants a 15-second product preview. Here's the working sequence:
- Upscale screenshot to 2048px in an image editor (3 minutes).
- Generate 4 motion variants in Pika at 720p free tier (5 minutes total; ~72 seconds each).
- Pick the best variant, regenerate at 1080p on the paid tier (3 minutes).
- Download the clip to local storage.
- Trim to exactly 15 seconds using a browser-based Online Video Trimmer — keeping the AI-generated clip local rather than uploading to yet another cloud service. For pre-launch product footage, this matters.
- Record founder voiceover locally. Voiceover takes are easier to manage when you can crop silences and pick the best take with a fast Online Audio Cutter before mixing.
- Combine voiceover and trimmed clip in your editor of choice.
Total: roughly 40 minutes versus a 2-day shoot. Output appropriate for B2B awareness content — not for broadcast, not for paid TV placement.
One final discipline issue worth naming: per IEEE P3652.1 evaluation criteria, professional use of AI-generated motion should be disclosed in client-facing contexts. This isn't optional ethics — it's increasingly a contractual requirement in regulated industries (finance, healthcare, government). Build the disclosure habit before a client asks you to retroactively add it.
Image-to-Video FAQ
These are the five questions that block most first renders. Each one has a specific, technical answer.
1. What input file format and resolution should I use?
Use PNG or JPG. Aim for 2048×2048 or higher even though most tools internally downsample to 512×512 — the upscale-to-downsample path produces visibly cleaner output than feeding a small source directly. Aspect ratio should match your delivery target: 16:9 for YouTube, 9:16 for TikTok and Reels, 1:1 for Instagram feed. Per vendor documentation, source images below 1024px produce significantly degraded output. If your source is a screenshot or compressed JPG, upscale it in an image editor first — don't let the AI tool do that work, because it will guess at detail rather than preserve it.
2. If I don't have a good source image, can the AI create one first?
Yes — but it's a two-step process with compounding quality loss. Use a text-to-image tool (DALL-E 3, Midjourney v6, Stable Diffusion XL) to generate the still, then feed that into your image-to-video tool. Each step introduces artifacts. If real photography is an option, use it. The image-to-video tool amplifies whatever is already there; an AI-generated source amplifies AI-generated detail, which compounds the artifact rate the University of Washington measured at 63%. In practice, the two-step path is acceptable for stylized social content and risky for anything photoreal.
3. How do I get consistent motion across multiple images for a sequence?
Most tools generate each clip independently — no memory of the previous clip. Three workarounds: (1) shoot or design source images with consistent lighting, color, and composition; (2) reuse the same style prompt verbatim across all generations, changing only the subject description; (3) edit clips together with 0.3–0.5 second crossfades in post to mask discontinuities. Runway's batch mode allows a unified style prompt across multiple inputs, partially solving this. For storytelling sequences longer than 30 seconds, plan to do post-production work — Columbia research found 73% of 8-second AI clips show significant visual discontinuities when extended naively.
4. Can I control which parts of the image move and which stay still?
Limited control in most consumer tools. AI image-to-video applies motion holistically — camera and subject move together based on the prompt. Selective motion masking (move only the clouds, freeze the foreground) is rarely available outside professional VFX tools. The practical workaround: generate the full clip, then composite it over the original still in editing software, masking the parts you want frozen. This is post-production work, not prompt work. Some advanced tools are starting to offer brush-based motion regions, but the feature is inconsistent across the category and shouldn't be your default assumption when planning a project.
5. What is the most efficient free-tier workflow for testing prompts?
Use a fast freemium tool (Pika) at 720p to iterate prompts — generate 5–8 versions changing one element at a time (motion vector → tone → duration → negative constraint). Pick the strongest version. Only then move to a paid tier or higher-quality tool to render the final 1080p version. This isolates prompt quality from tool quality, which is the single biggest source of confusion for first-time users. The Berkeley data showing 42% artifact reduction from structured 35-word prompts only pays off if you iterate at low cost first and render at high cost last. After the final render, trim and reframe locally with the Online Video Trimmer rather than re-uploading to a cloud editor — particularly useful when the source still contains anything client-confidential.